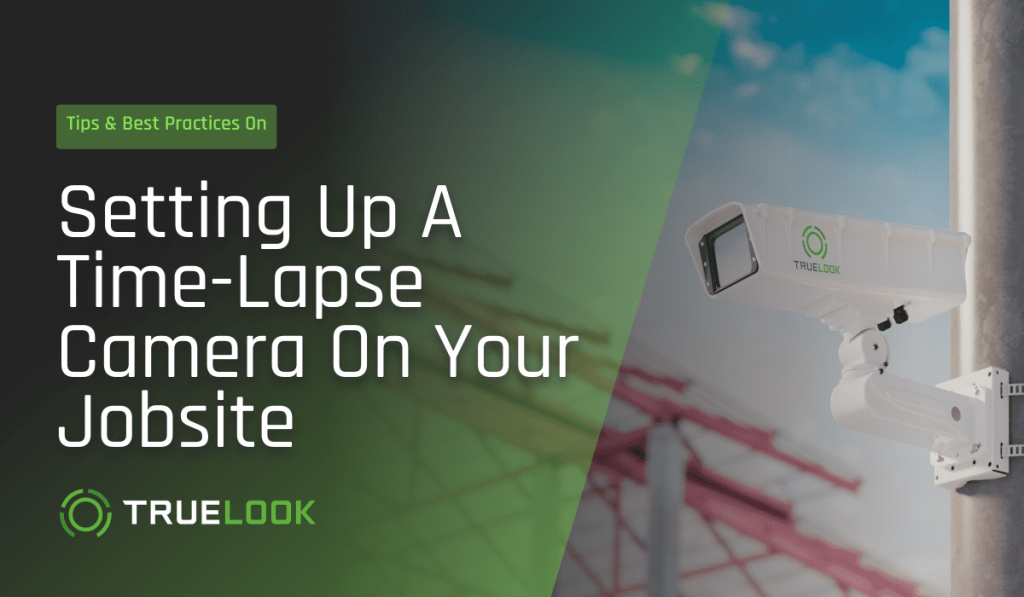
Construction cameras enhance site monitoring and showcase works in progress.
Time-lapse cameras in particular are an important tool for remote work on jobsites, as they allow construction firms to monitor and capture the progress of projects from start to finish. Knowing how to set up a time-lapse camera in strategic positions will help firms capture high-quality footage for marketing and sales, project documentation, and helping clients showcase new, exciting builds!
Best practices on how to set up a time-lapse camera for construction
When setting up a time-lapse camera, the type of camera you choose is important.
Fixed position cameras offer the most stable time-lapses, while Pan-Tilt-Zoom (PTZ) cameras offer the option for panoramic time-lapses to capture a wider area. For night monitoring and jobsites with challenging lighting, cameras with built-in IR technology allow for continuous 24-hour time-lapses, even in low light or total darkness.
Camera stability is crucial for a cohesive final time-lapse.
Follow the camera’s manual closely to be sure that your camera is mounted properly and securely. Also, consider ways to optimize your mounting system and location choice. If you’re using a non-penetrating roof mount option for your camera, ensure adequate ballast material is holding the mount in place. If possible, avoid mounting the camera in a spot that experiences high winds.
Lighting can also make a big difference in capturing and monitoring jobsites. The sun changes position in the sky throughout the year, so time-lapses might start out looking good in the spring when facing south but have issues in the winter when the sun is lower. Positioning the camera due north helps reduce the risk of solar glare and provides better, clearer overall lighting for the final time-lapse.
When setting up your camera, keep the finished project in mind.
Place the camera in a position to capture the whole build once it’s completed. If the camera’s angle is too tight on the base of the building, it may need to be relocated when subsequent stories are added. Consequently, this could create an odd jump with the view change in the middle of the time-lapse. When setting up your time-lapse, be sure to position your camera so that it captures your build in every phase, including and especially completion. This is even more important in multi-phase projects, where new components may obscure the camera’s view as the project moves toward completion.
When choosing set-up options, consider your ideal finished time-lapse.
After mounting the camera, log into TrueLook’s platform to confirm that the view looks good for your time-lapses. Ensure the camera is level and capturing the view that you need for your project. Once you have captured the footage, you can still remove bad imagery from the final time-lapse. TrueLook’s platform offers the ability to easily remove bad weather images and has the option to remove less interesting visuals, such as nights and weekends.
Other things to keep in mind for your project time-lapse:
- Your camera will need a consistent power source, whether it’s 110V or solar.
- When setting up your custom time-lapse, do you want to include off-hours when there is no activity on site?
- This can add length to your time-lapse while not showing as much visual value.
- Is there a certain time of day that would be ideal to capture for documentation or just the best visuals?
- How many images do you want to capture each day and how frequently do you want to capture them?
- The more images you capture, the longer the time-lapse video.
- If your jobsite has a lot of varied activity during the day, it might be a good idea to capture multiple images each day. Meanwhile, for other projects, just one image per day is enough to capture the project.
- A few days after your time-lapse starts capturing images, it’s a good idea to check on the image quality so you don’t have surprises later on. Here are some quality markers to consider:
- Is the camera angle crooked? Is the sun creating a glare in any of the images? Are the images showing what you want/need to capture from your jobsite each day? Are you capturing images during the times you want?
Start showcasing your construction projects with time-lapse cameras!
Time-lapse cameras have become an essential tool for construction firms to document and monitor the progress of their projects. Not only do they provide valuable insights for construction teams, but they also have great marketing and showcasing potential. However, setting up a time-lapse camera properly is critical to ensuring a clear and comprehensive view of the jobsite. By following the tips outlined above, builders can capture the best time-lapse footage possible, highlighting the full scope of their projects from start to finish.
About TrueLook
TrueLook’s construction camera solutions are elevating jobsites and helping builders monitor and showcase their work. Our platform offers an ever-expanding toolbox of features to help construction firms capture and manage their time-lapse footage, from custom time-lapses to weather and map data to intelligent security. In choosing our cameras and software, builders can streamline their time-lapse process and capture high-quality footage of projects from start to finish. To learn more about how you can elevate your construction practice, contact us for a free demo or check our blog for more industry news and insights.
Superb Image Quality. Widest Field of View. Unbeatable Value.
The stability and simplicity of a fixed-position construction camera make it the optimal choice for capturing a singular, ultra-wide view of a jobsite.

